How to Fell a Small Tree in the Direction You Want
Safe, step‑by‑step guidance for North Georgia homeowners (Ellijay • Jasper • Blue Ridge)
Read this first: Tree felling is inherently dangerous. This guide is for small, sound trees on open ground where you can establish a clear drop zone. If anything here gives you pause—or the tree is near a house, power lines, or a slope—call a pro.
Why Directional Felling Matters in North Georgia
Hillsides, narrow driveways, and tight mountain lots mean you rarely have open space to drop a tree. Directional felling lets you place a tree where it’s safest to land and easiest to clean up—without damage to roofs, fences, or landscaping. The key is planning, proper notching, and controlling the hinge.
Safety First (Non‑negotiable)
- PPE: Helmet with face shield or glasses, hearing protection, chainsaw chaps, gloves, boots with tread.
- Spotter: One adult who understands your hand signals/voice commands.
- Weather & Wind: Gusts shift the tree’s center of gravity—postpone in high winds.
- Utilities: If there are overhead lines or buried lines nearby, stop and call the utility/811 before any digging or felling.
- Escape Routes: Clear two escape paths at ~45° back from the intended fall line.
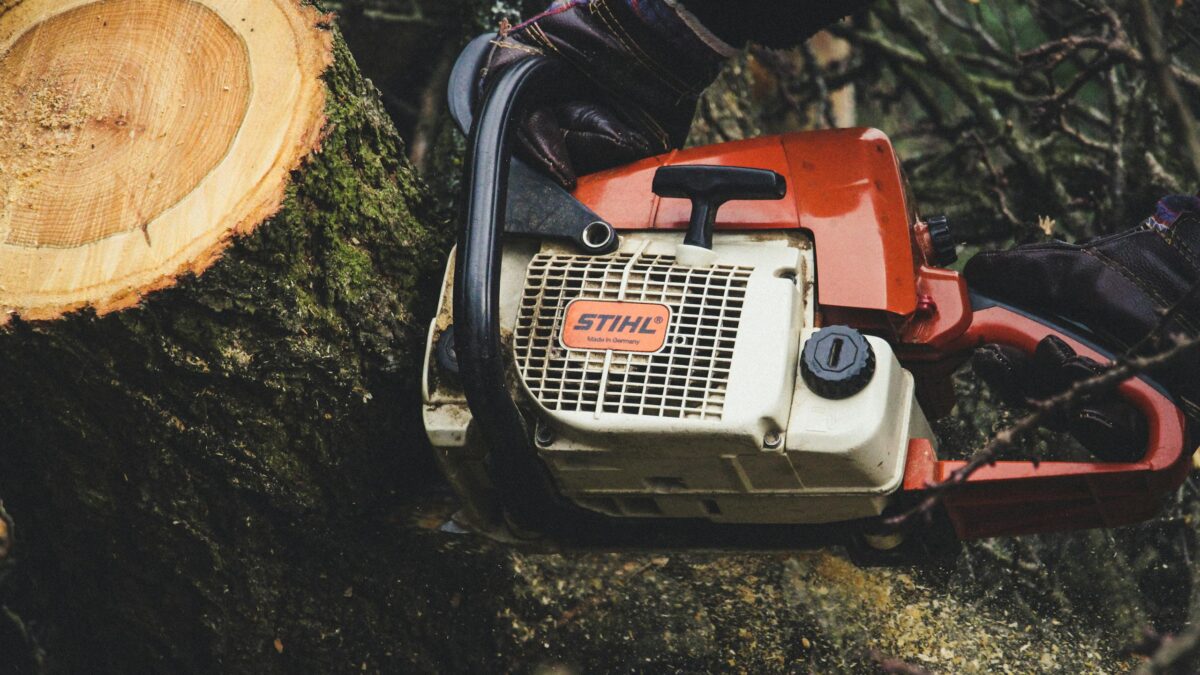
- Saw Fitness: Sharp chain, working chain brake, bar oil, fueled and tested idle.
Don’t do this if… the tree is dead/dying, hollow, cracked, has a heavy lean toward a target, diameter is >10–12″, or any part of the crown is over structures or power lines. Hire a pro with rigging/bucket/crane.
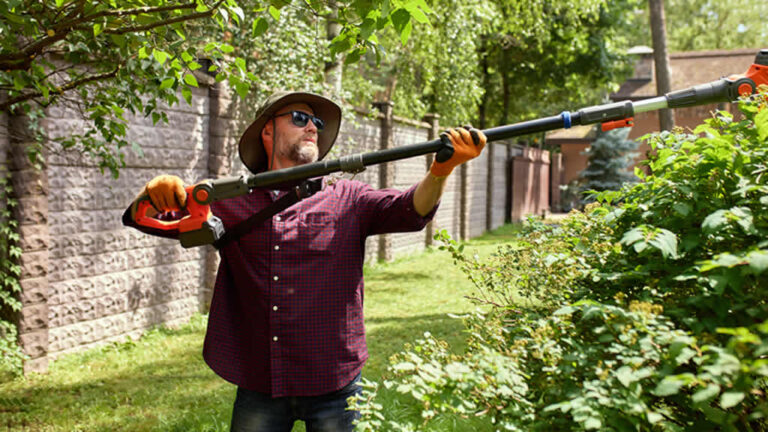
Tools You’ll Need
- Gas or battery chainsaw (14–18″ bar is common for small trees)
- Plastic felling wedges (2–3) and a small sledge/mallet
- Felling lever or cant hook (optional but helpful)
- Measuring tape/marker, chalk or crayon
- Hand saw or loppers for clearing brush at the base
Step 1: Read the Tree and the Site
- Natural Lean & Crown Weight – Stand back and sight the trunk from two sides. Note any side‑lean.
- Defects – Look for cracks, cavities, mushrooms (rot), dead top, root plate heaving. Any defect = pro.
- Targets – Identify anything within 2× tree height (homes, cars, lines). If in that zone, reconsider DIY.
- Drop Zone & Hang‑ups – The path the tree must take to the ground. Remove low obstacles and brush that could cause a hang‑up.
Step 2: Plan Your Fall Line and Escape Paths
- Pick the intended fall direction based on space, wind, and lean. Mark it on the ground.
- Clear two escape paths at 45° back from the fall line. Keep tools and fuel behind those lines.
Step 3: Set the Face Notch (Open‑Face)
The face notch directs the fall. Use an open‑face notch for better control.
- Face the fall direction.
- Top cut: angle ~70° downward toward the trunk center.
- Bottom cut: horizontal, meeting the top cut to create an open “V.”
- Depth: about ¼–⅓ of the trunk diameter.
Tips:
- Keep the notch level side‑to‑side so the hinge fibers are even.
- Remove the wedge of wood cleanly; the notch should “look at” the landing spot.
Step 4: Establish the Hinge (Back Cut)
The hinge is the “steering” wood. Too thick and the tree may sit; too thin and you lose control.
- Hinge thickness: aim for about 10% of trunk diameter (example: 1″ hinge on a 10″ trunk).
- Back cut height: slightly above the apex of the face notch (to prevent the tree sliding backward over the stump).
- Method:
- Start the back cut on the side opposite the fall line.
- Cut level toward the center but stop early—leave room for wedges.
- Insert a plastic wedge and tap lightly.
- Continue cutting until the saw kerf allows a second wedge if needed.
- As the kerf closes on the wedge and the tree starts to commit, remove the saw, set the brake, and prepare to retreat.
Never cut through the hinge. If you sever the hinge, you lose steering and can create a barber‑chair (dangerous vertical split).
Step 5: Commit the Tree with Wedges
- With the saw out and brake on, drive the wedge(s) until the tree starts to move.
- Your spotter watches the crown for movement and announces “Tree coming!”
- As soon as movement is clear and continuous, make eye contact with your spotter and proceed to the escape route.
Step 6: Retreat Safely
- Move on your pre‑cleared 45° escape route, keeping eyes on the tree.
- Stay at least 20 feet away until the tree is fully down and stable.
Step 7: Post‑Fell Checks & Limbing Basics
- Wait for debris to settle. Watch for spring poles (loaded branches) and tensioned wood—release cautiously from the outside in.
- Keep your legs and bar away from the ground to avoid kickback and chain dulling.
- Work from the butt toward the crown, cutting small limbs first. Roll logs with a cant hook rather than cutting blindly.
North Georgia Terrain Tips
- Slopes: Stand on the uphill side of the trunk when cutting. Never stand below a log on a slope.
- Rocky Ground: Protect your chain. Use wedges and raise the cut line with blocking if needed.
- Wind Channels: Ridges and hollows funnel wind. Wait for calmer windows.
Common Mistakes to Avoid
- Cutting the back cut below the notch apex (invites kick‑back over the stump).
- Thin or severed hinge—you’ll lose control.
- Using metal wedges (they can contact the chain). Use plastic felling wedges only.
- Ladder + chainsaw combinations—unforgiving and unstable.
- Felling toward unknown terrain (drop‑offs, boulders) that can cause rolling.
When to Call a Pro (Seriously)
- Any involvement with structures, vehicles, or power/telecom lines
- Dead, cracked, hollow, or fungus‑ridden trees
- Trees with heavy side‑lean or diameter >10–12″
- Steep grades, wet soils, or limited drop zones
We specialize in technical removals, controlled rigging, and view‑friendly pruning across Ellijay, Jasper, and Blue Ridge. If your scenario touches any of the above, we’ll handle it safely and cleanly.